How to Set up the Ledger Hardware Wallet
An important part of owning crypto and NFTs is keeping your crypto wallet secure. One way to boost your security is by using a hardware wallet.
In this guide, we’ll understand how a hardware wallet increases your security and also go through the steps to set up a Ledger Nano. Go here to learn how to manage your NFTs and use MetaMask with a Ledger Nano.
What Is a Hardware Wallet?
A hardware wallet, also known as cold storage, is a small device used to manage your crypto and NFTs while keeping your seed phrase offline and off your computer.
Wallets such as MetaMask, Coinbase Wallet, or Rainbow are software wallets (hot wallets). The most popular hardware wallets are Ledger and Trezor.
You can do the same activities on your hardware wallet as with your hot wallet. The difference lies in where your private keys are stored. A hardware wallet can also be used in combination with MetaMask, adding another layer of protection when navigating the crypto space.
Worth remembering is that your crypto and NFTs are not stored in your wallet. Instead, they exist as records on the blockchain. What your crypto wallet actually stores is a pair of public and private keys, including your seed phrase. Your seed phrase is what allows you to access your crypto assets, which is why it is an integral part of your wallet. Learn more about how wallets work.
An Extra Layer of Protection
Hardware wallets provide more security than software wallets because your private key and seed phrase are generated offline, on the device itself.
Plugging your hardware wallet into your computer does not put your assets at risk, since the seed phrase is only shown to you once, during the wallet setup. There is no way to view your seed phrase on your hardware wallet again. So, even if your computer or phone gets compromised, it would be impossible for hackers to access your private key or seed phrase unless you digitized them in some way.
On the other hand, hot wallets exist as browser extensions or mobile apps. Your private key is still securely stored with a hot wallet, but the fact they were generated online and are kept on your computer puts your assets at risk. If your computer or phone gets compromised, hackers can easily find and access your private key or seed phrase.
So, Do You Need a Hardware Wallet?
Although hot wallets are free and easy to use, hardware wallets offer an extra layer of protection by keeping your private key offline. As you continue to navigate Web3 and accumulate crypto assets, you will want to keep those assets secure.
You can use a hardware wallet as a vault where you store large amounts of cryptocurrency or high-value NFTs. This wallet can stay offline at all times, but you can also use your hardware wallet in much the same way as a hot wallet. You don’t have to pick between one or the other. You can have multiple hot and cold wallets and easily move your crypto and NFTs between wallets anytime.
In fact, it’s often recommended to keep your assets divided across multiple hot and cold wallets in order to minimize risk.
Purchasing a Hardware Wallet
There are a number of hardware wallets to choose from. Ledger is a popular choice, along with Trezor.
Ledger has three devices to choose from - Nano S, Nano S Plus, and Nano X. The Nano S Plus and Nano X can store over 100 apps for your crypto assets and over 5,500 different tokens on the Ledger Live app. You can view and manage all your crypto activity on different blockchains through Ledger’s official app, Ledger Live.
The main difference between Ledger Nano X and Ledger Nano S is that the Nano X is Bluetooth-enabled. With Bluetooth connectivity, you can use the Ledger Live app on your mobile phone, while the Nano S needs to be plugged into your computer.
To purchase a Ledger Nano, visit their official site. We recommend purchasing hardware wallets from the official websites of Ledger or Trezor. Buying from resellers carries a risk. Anyone could mess with the hardware or software, but when you buy from an official source, you have higher guarantees of safety.
How to Set Up a Ledger Wallet
Once you unbox your Ledger, you should have:
A hardware wallet device
USB cable
Keychain
3 recovery sheets
Quick start guide
Some stickers
The recovery sheet is where you will write down your seed phrase. If the recovery sheets already have words on them, do not use the device since it has already been set up. Return your device and notify Ledger support immediately.
Let’s Begin!
When setting up a hardware wallet for the first time, do not recover your seed phrase from your MetaMask wallet or any other hot wallet. Recovering your seed phrase from a hot wallet does not increase your protection, since your seed phrase was already generated online.
Instead, generate a new seed for the new device.
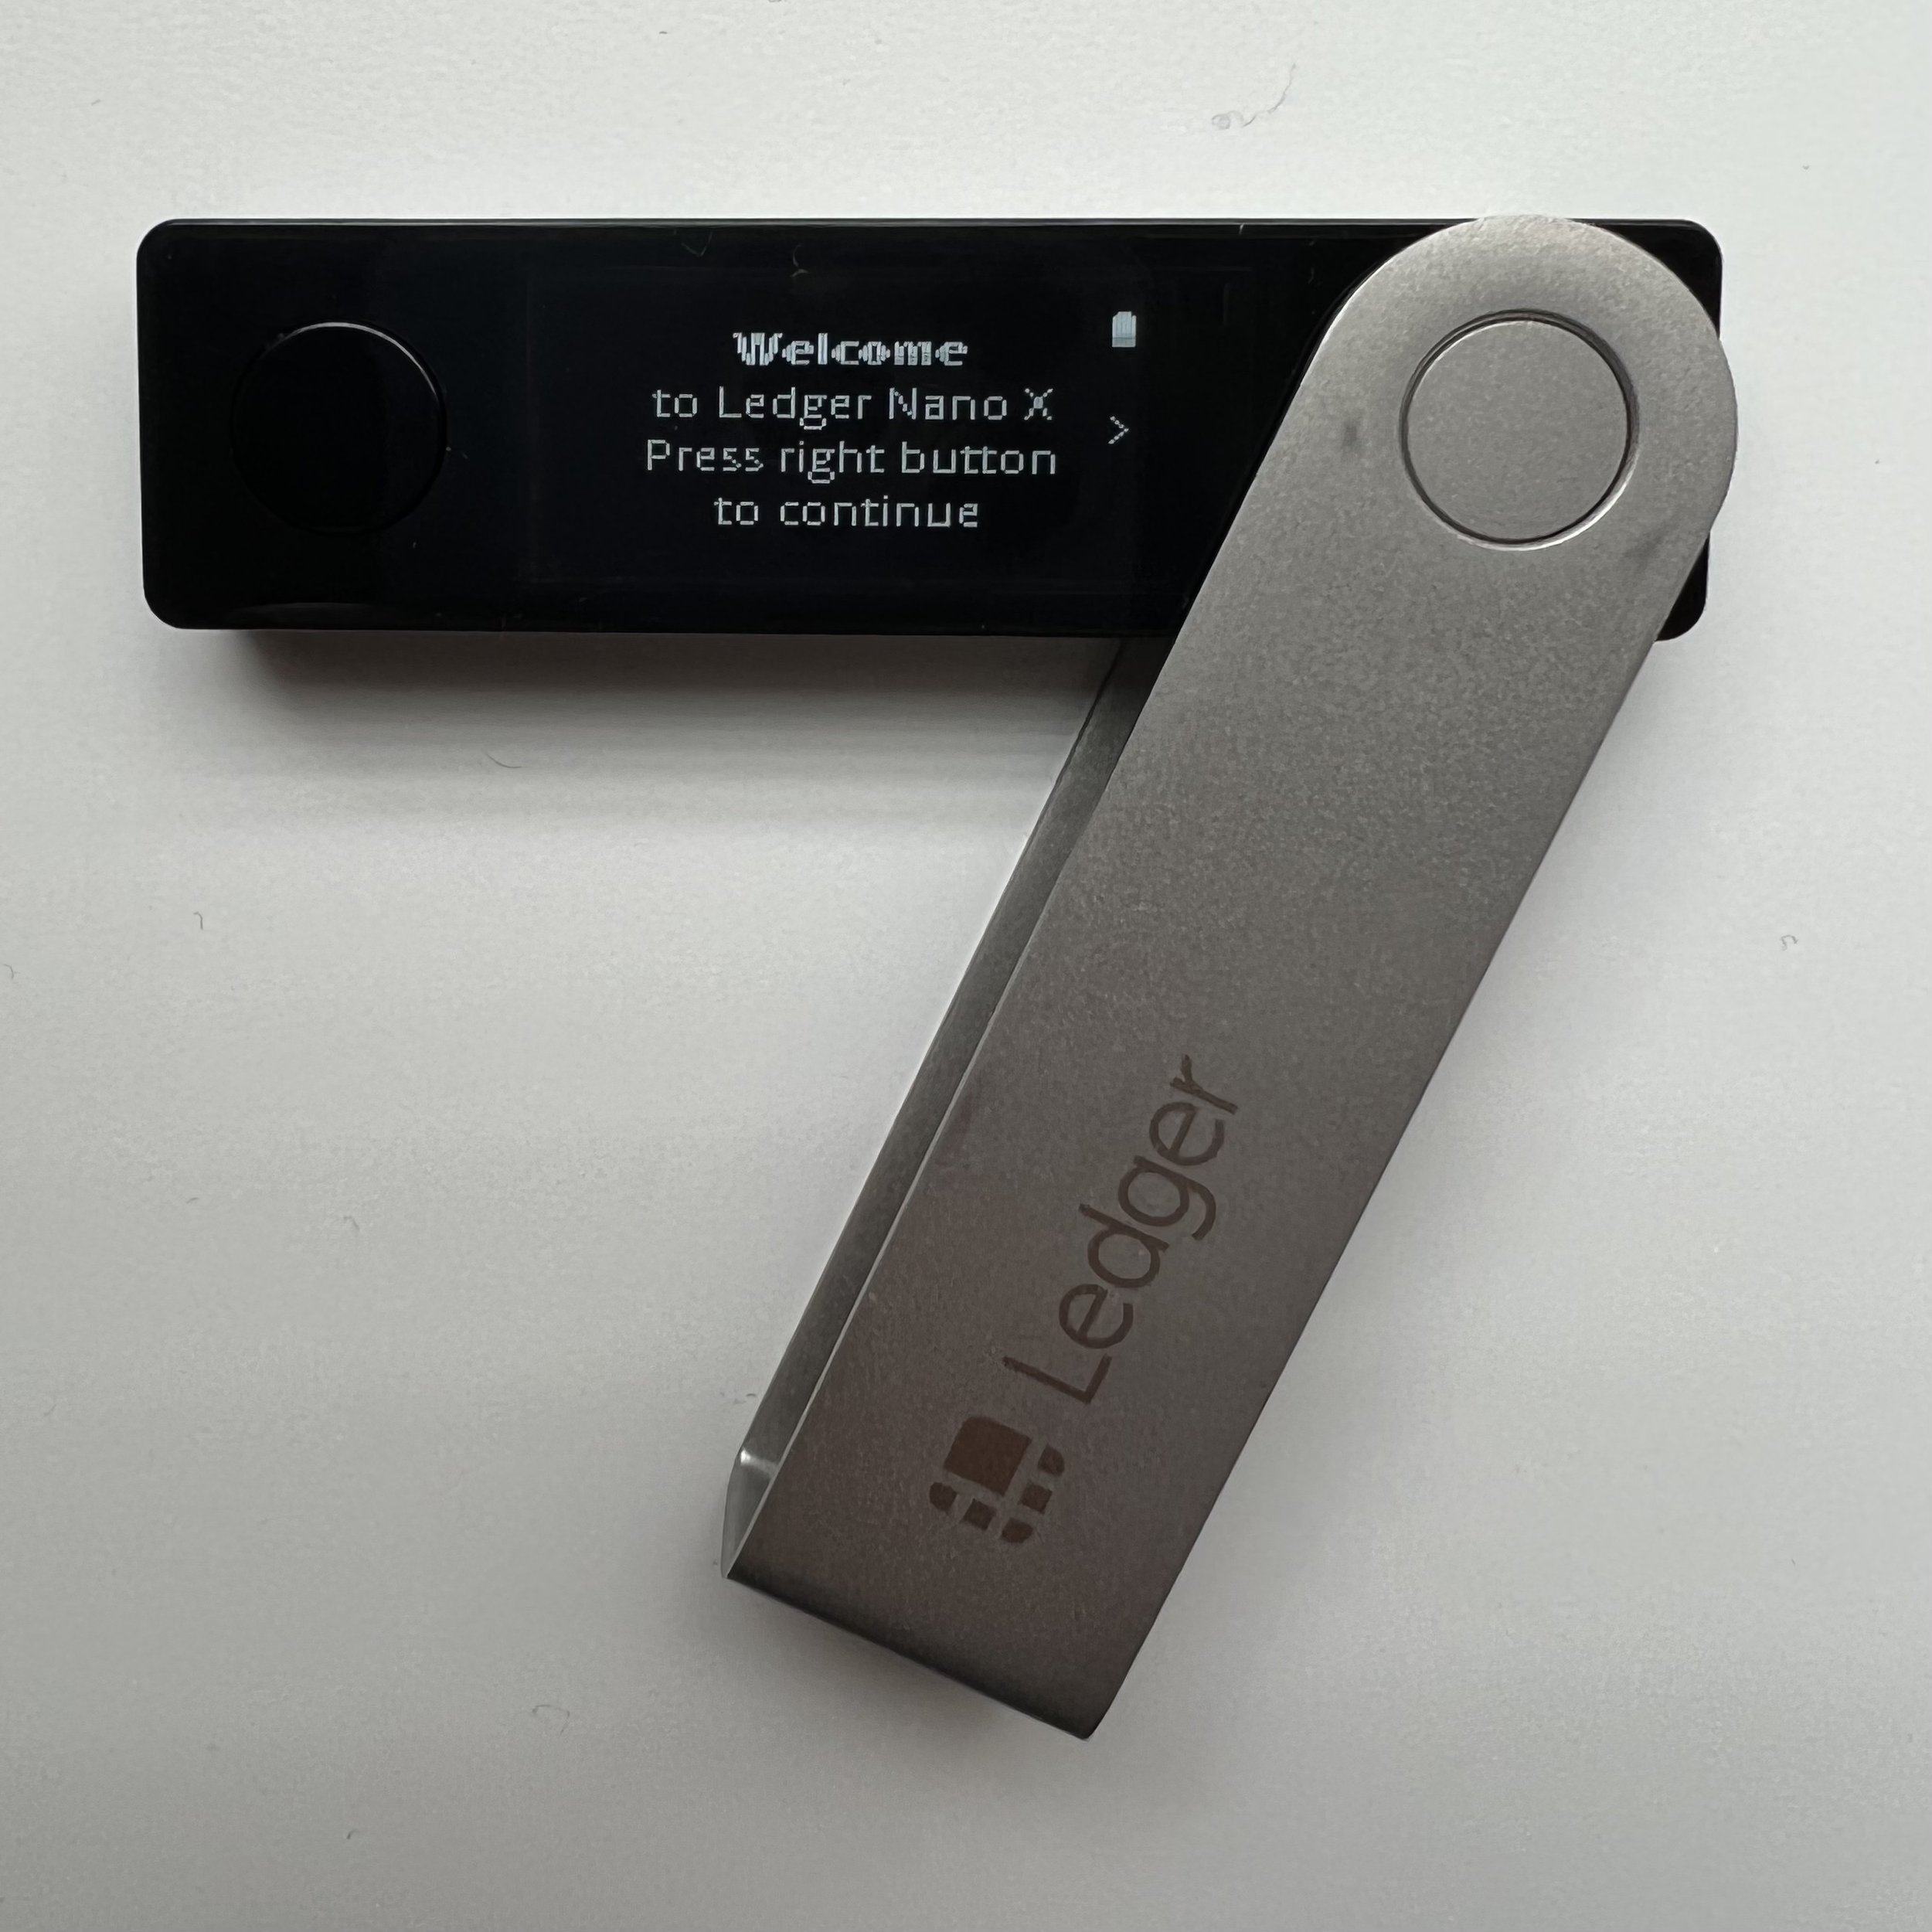
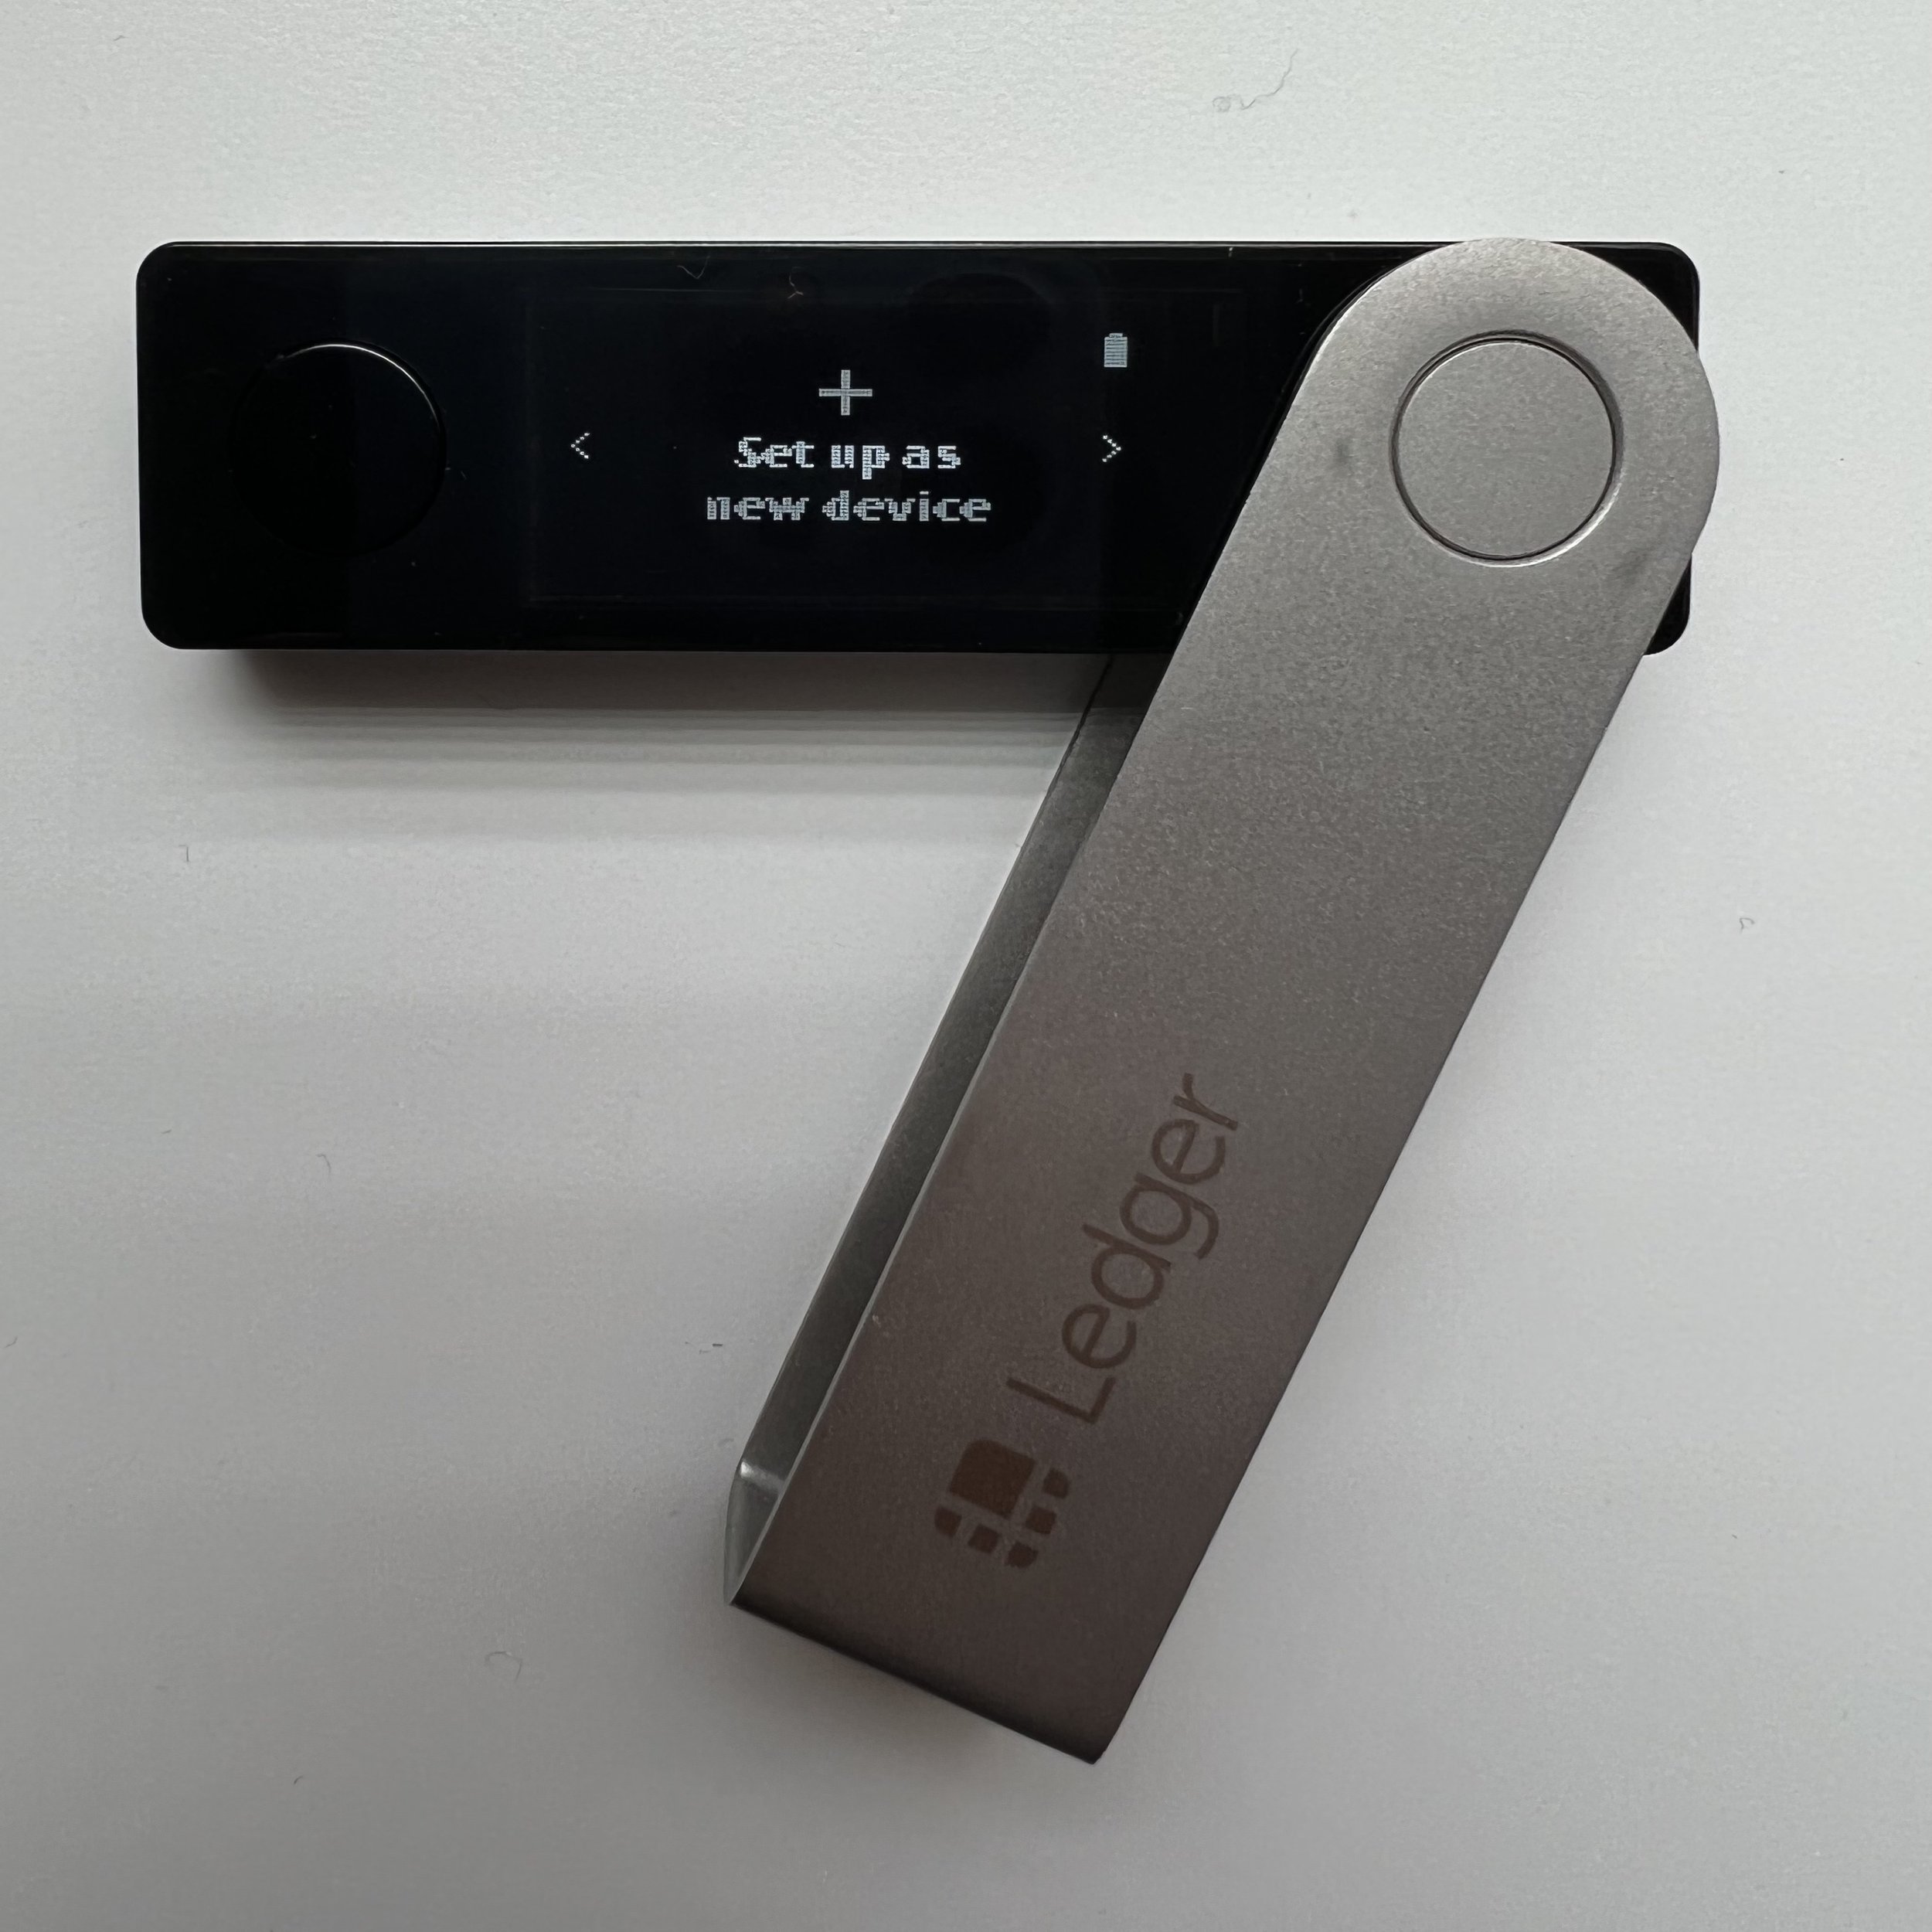
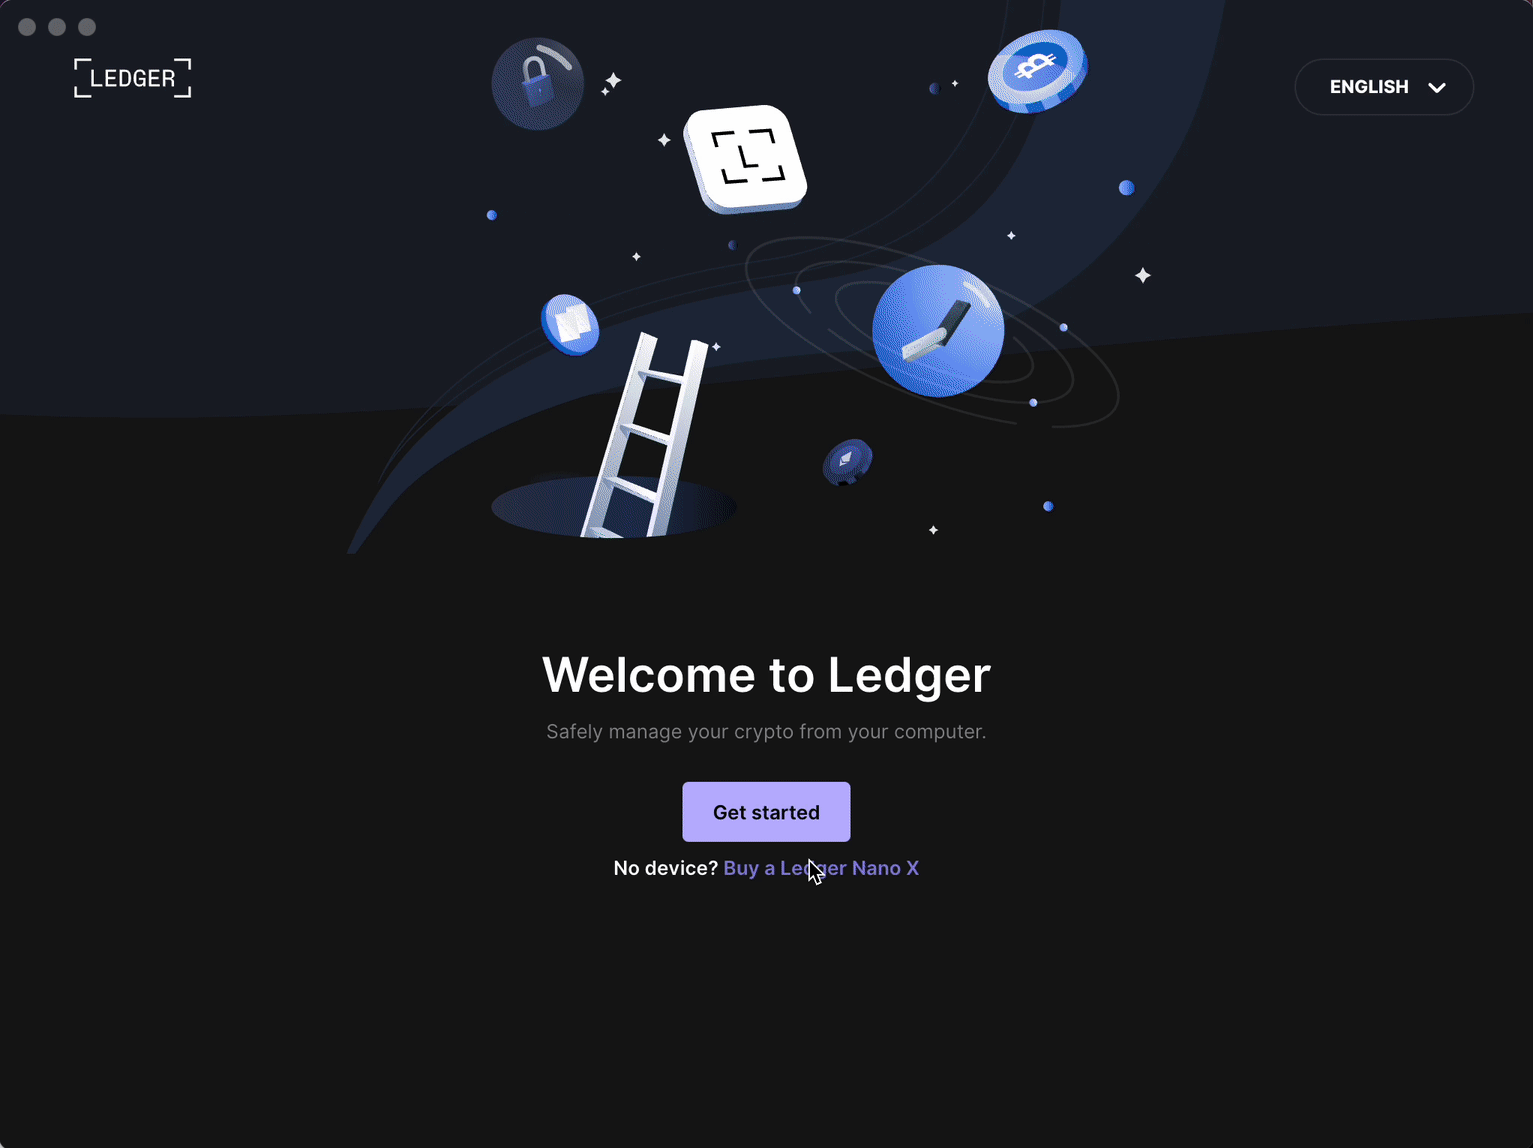
1. Power up your wallet and select “Set up as a new device.”
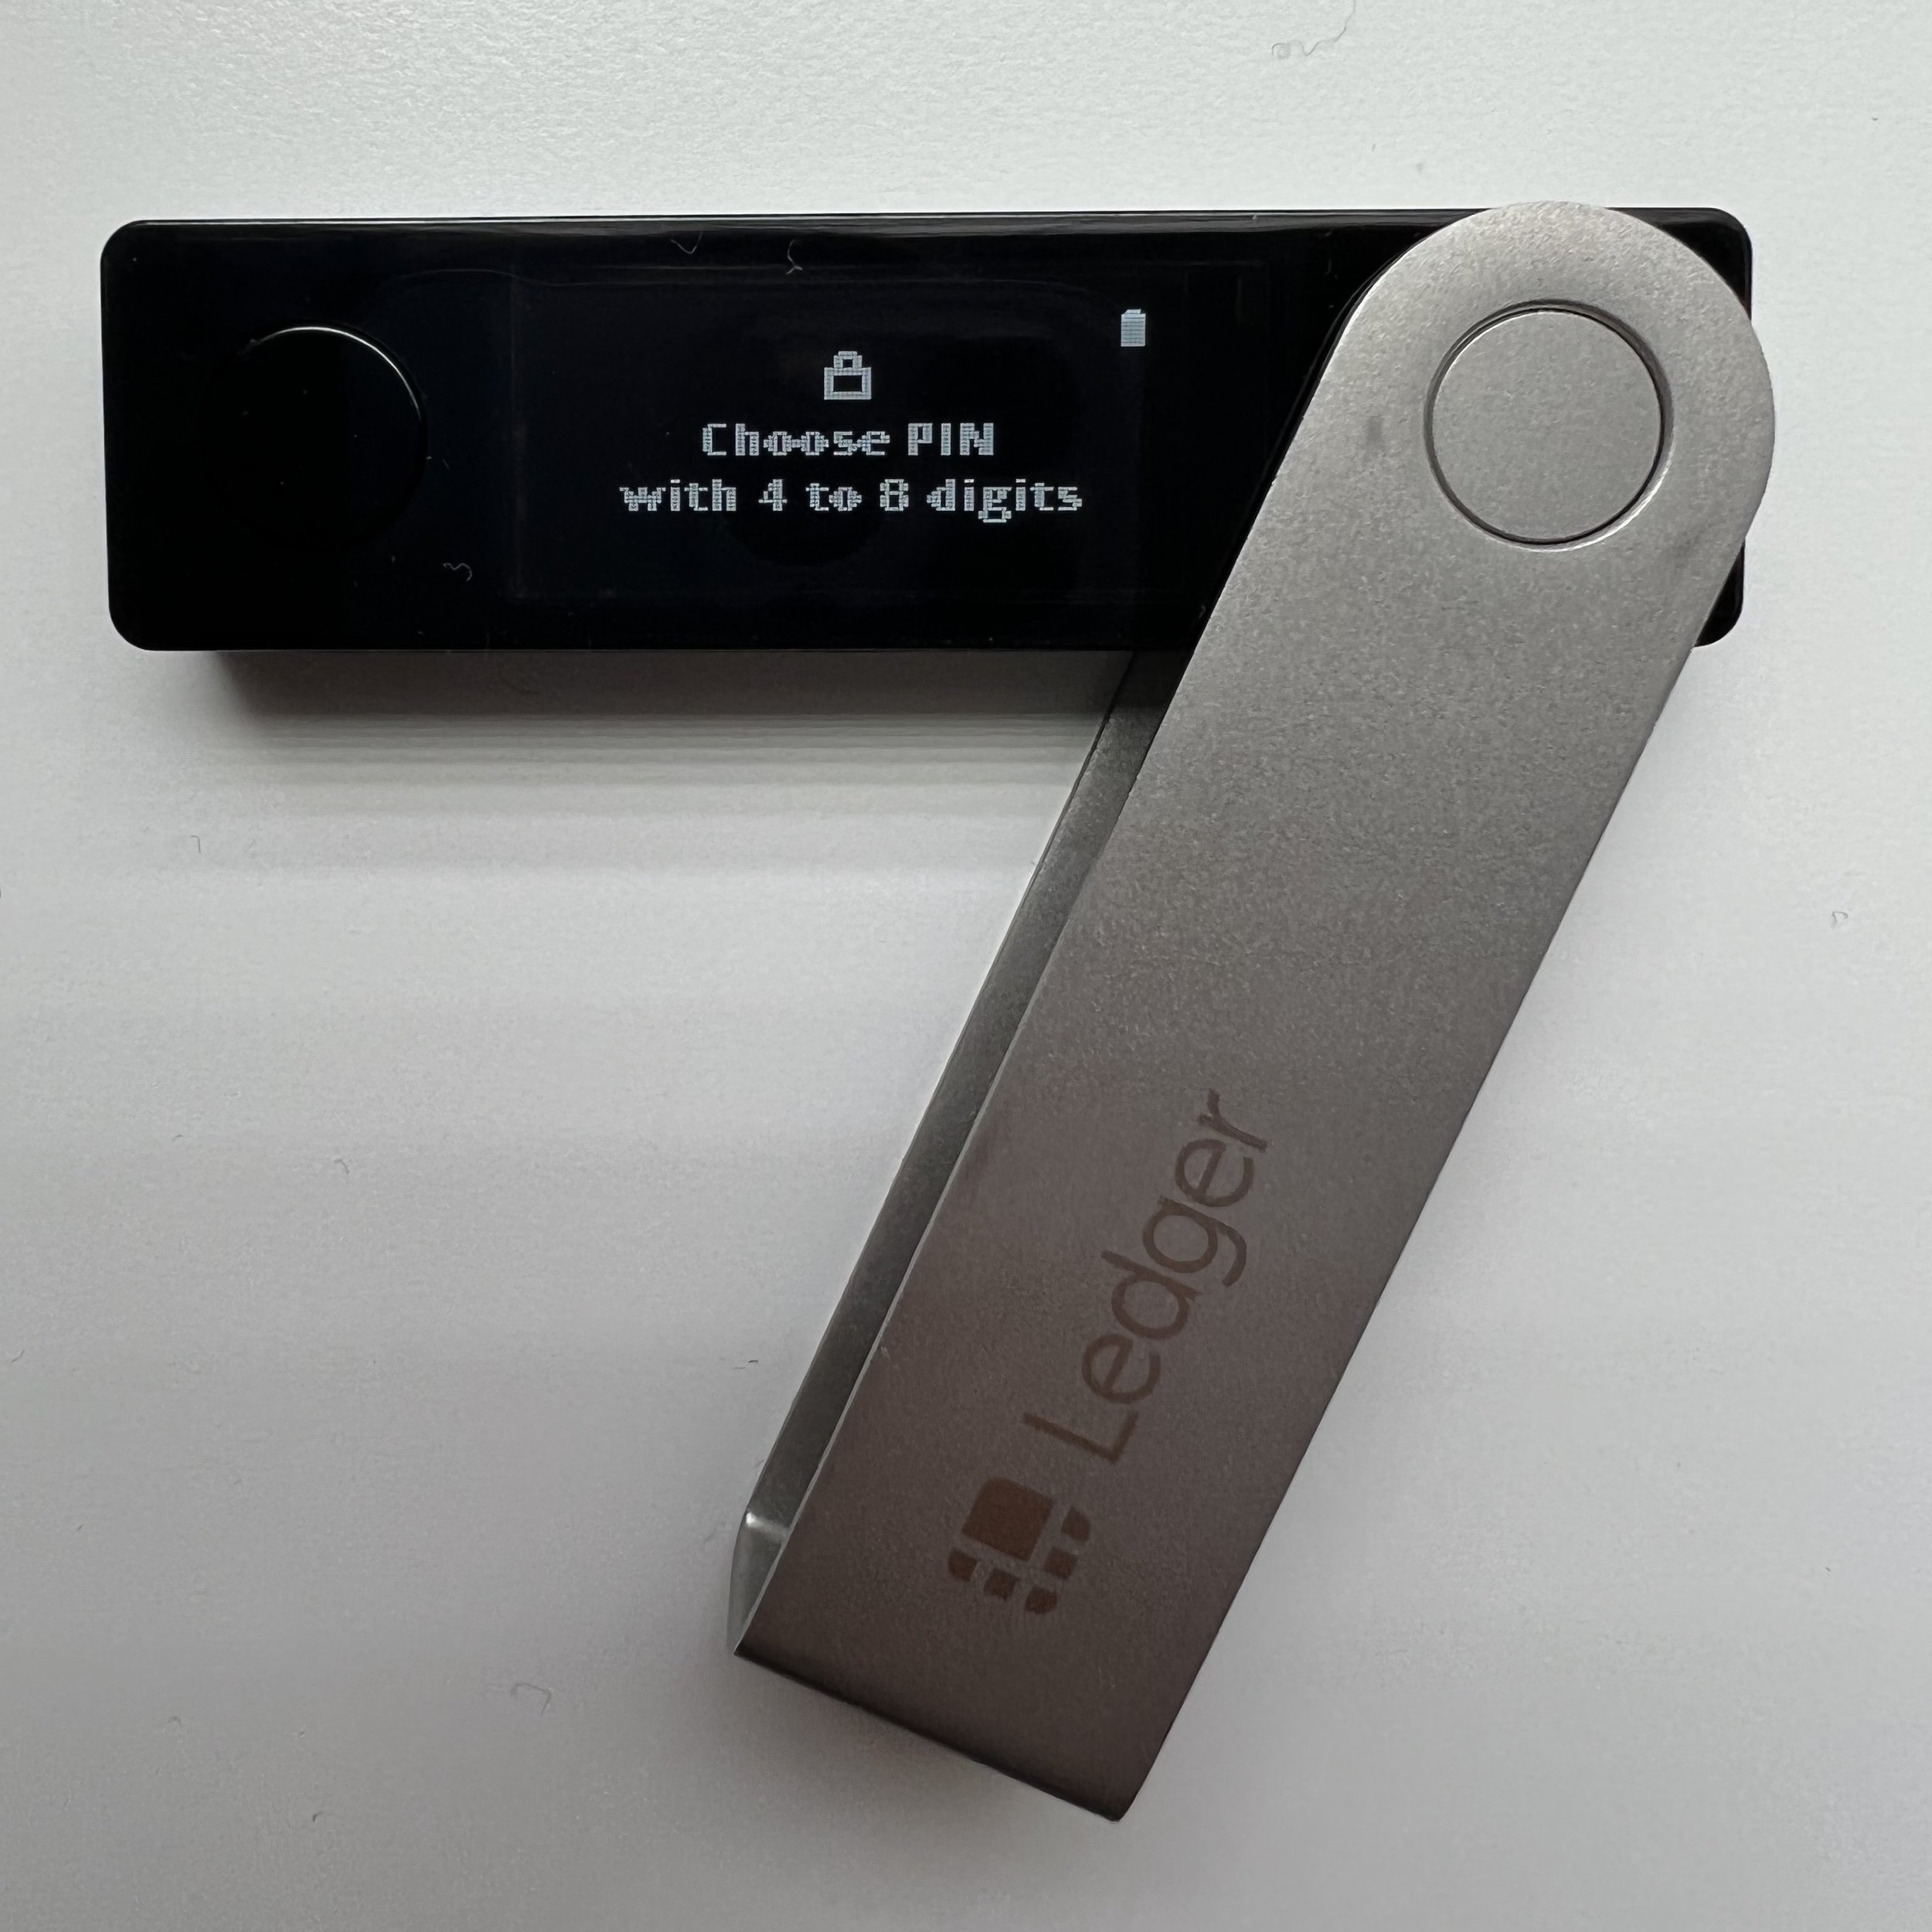
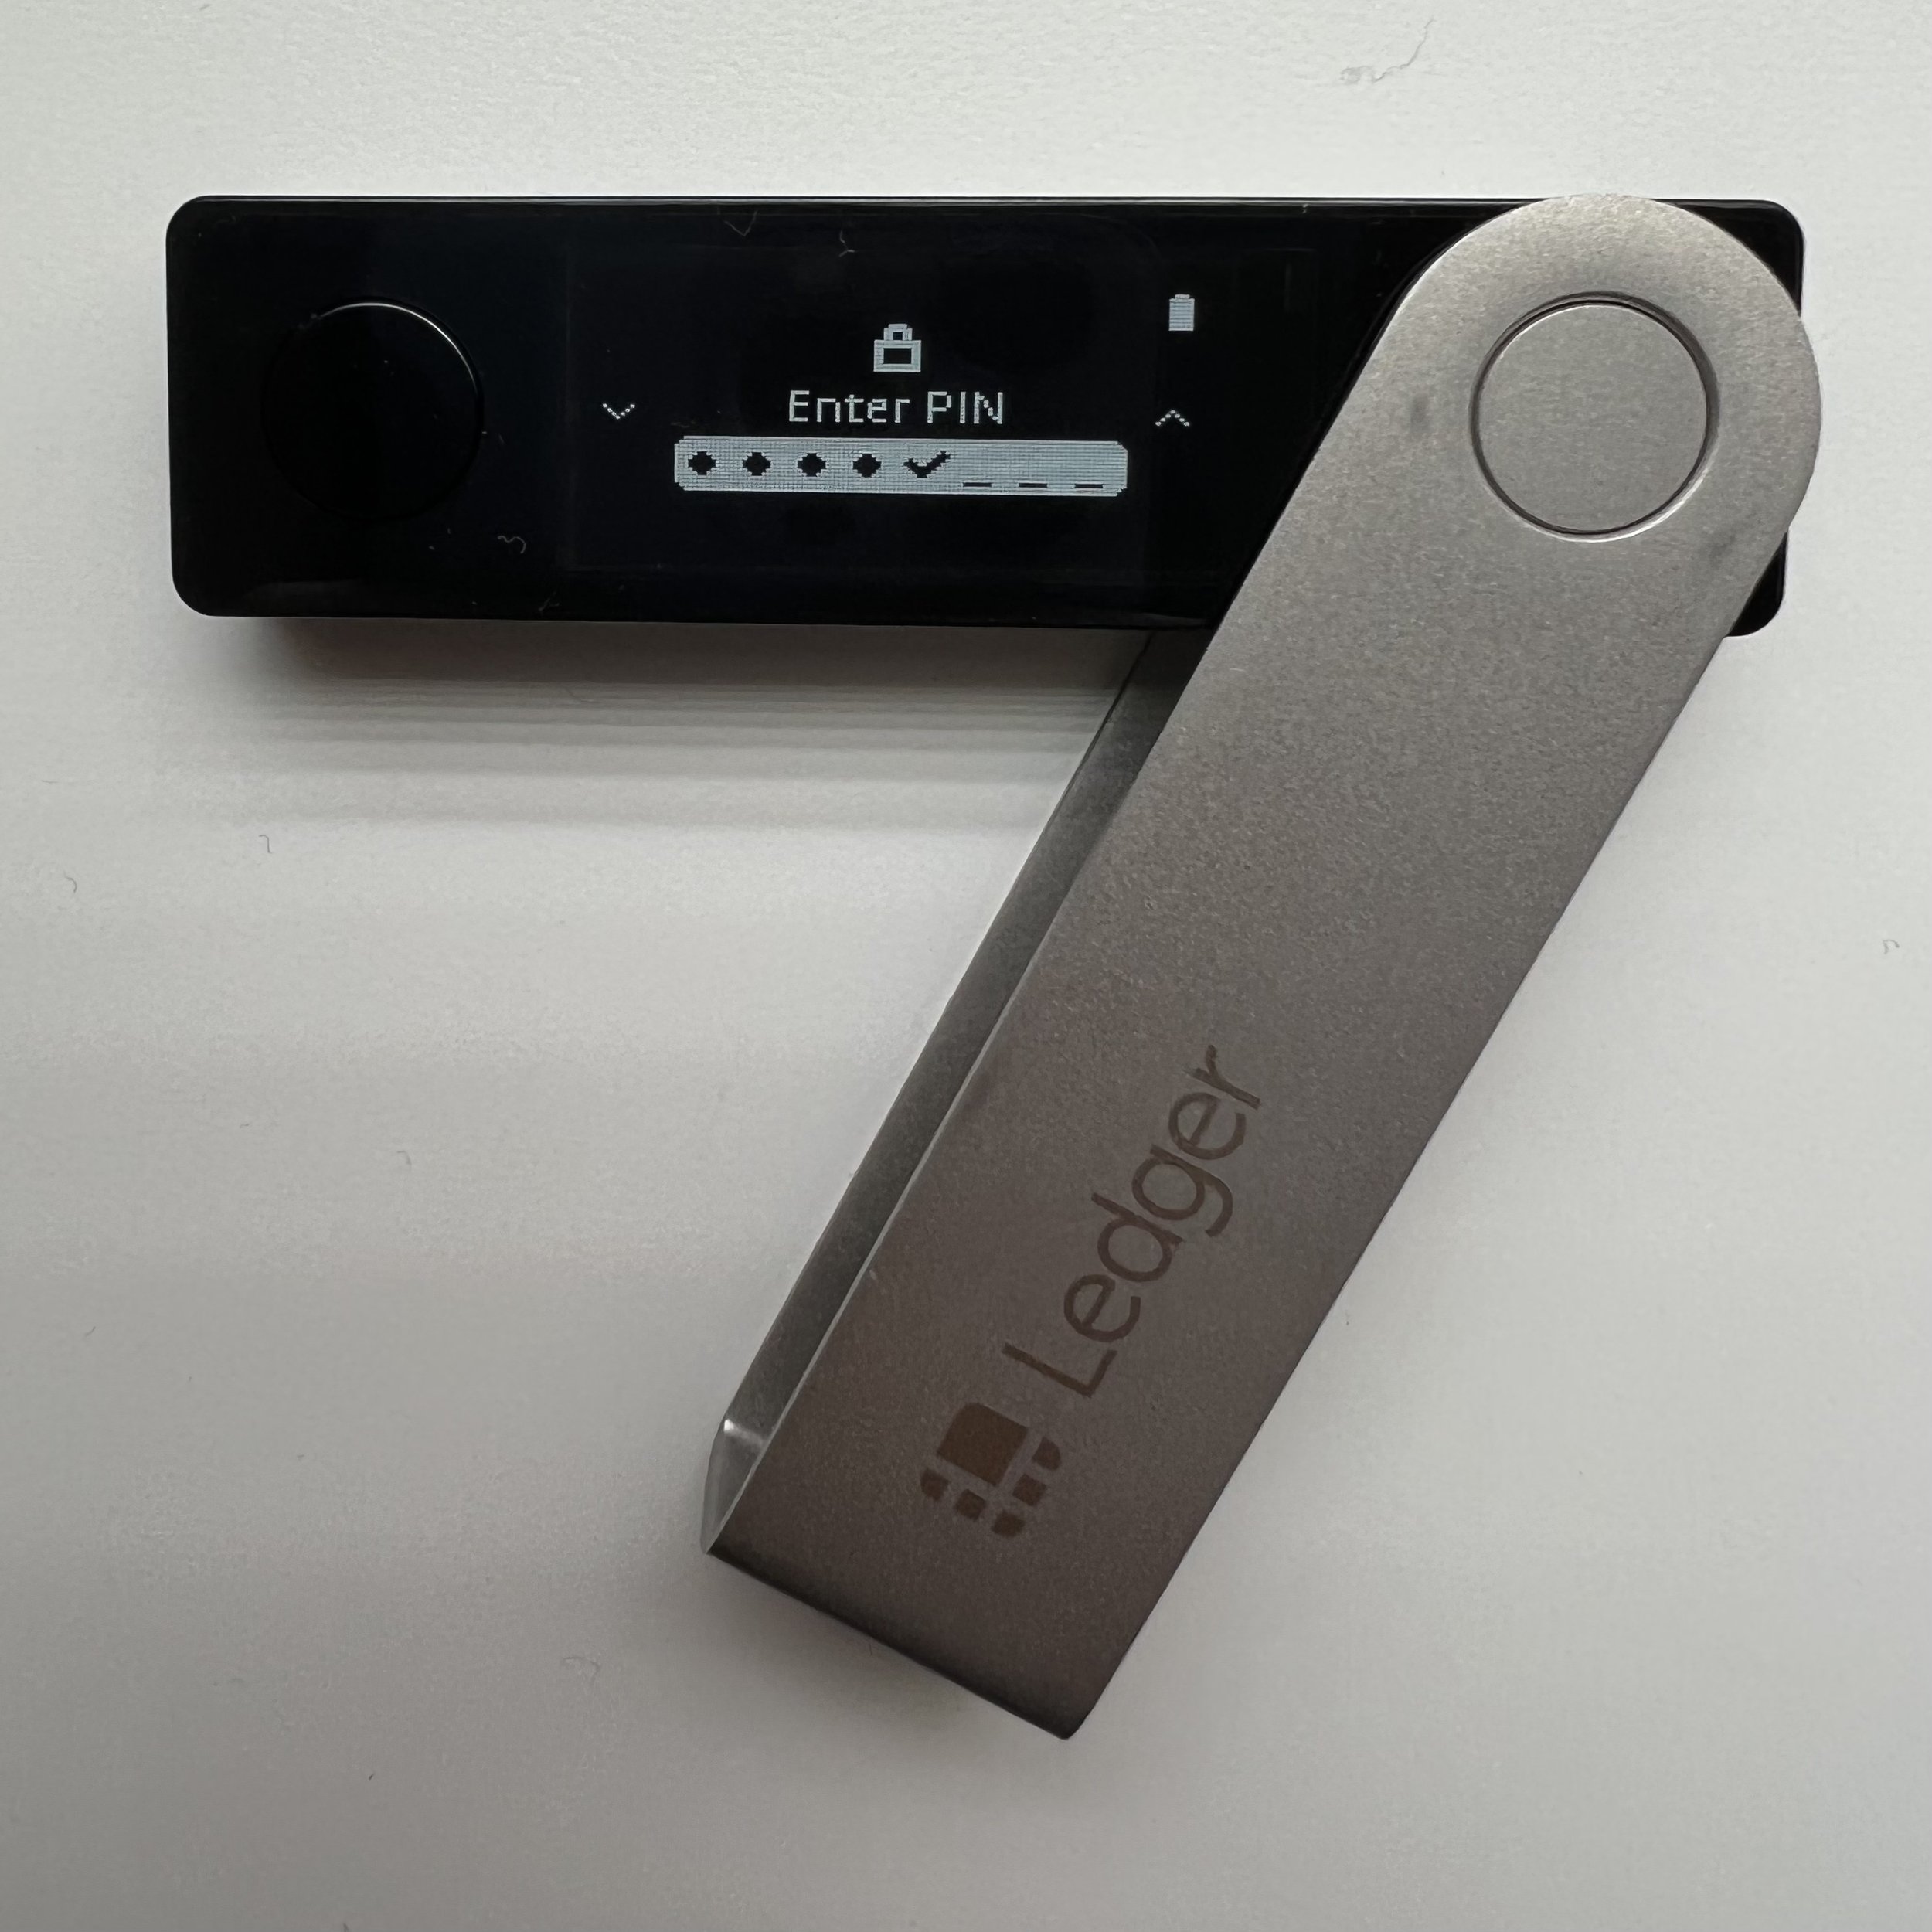
2. Set a pin code. You can either set up a 4 or 8-digit pin code to protect your wallet. You will be entering this code every time you turn on your device or plug it in. Confirm your pin code by re-entering the numbers.
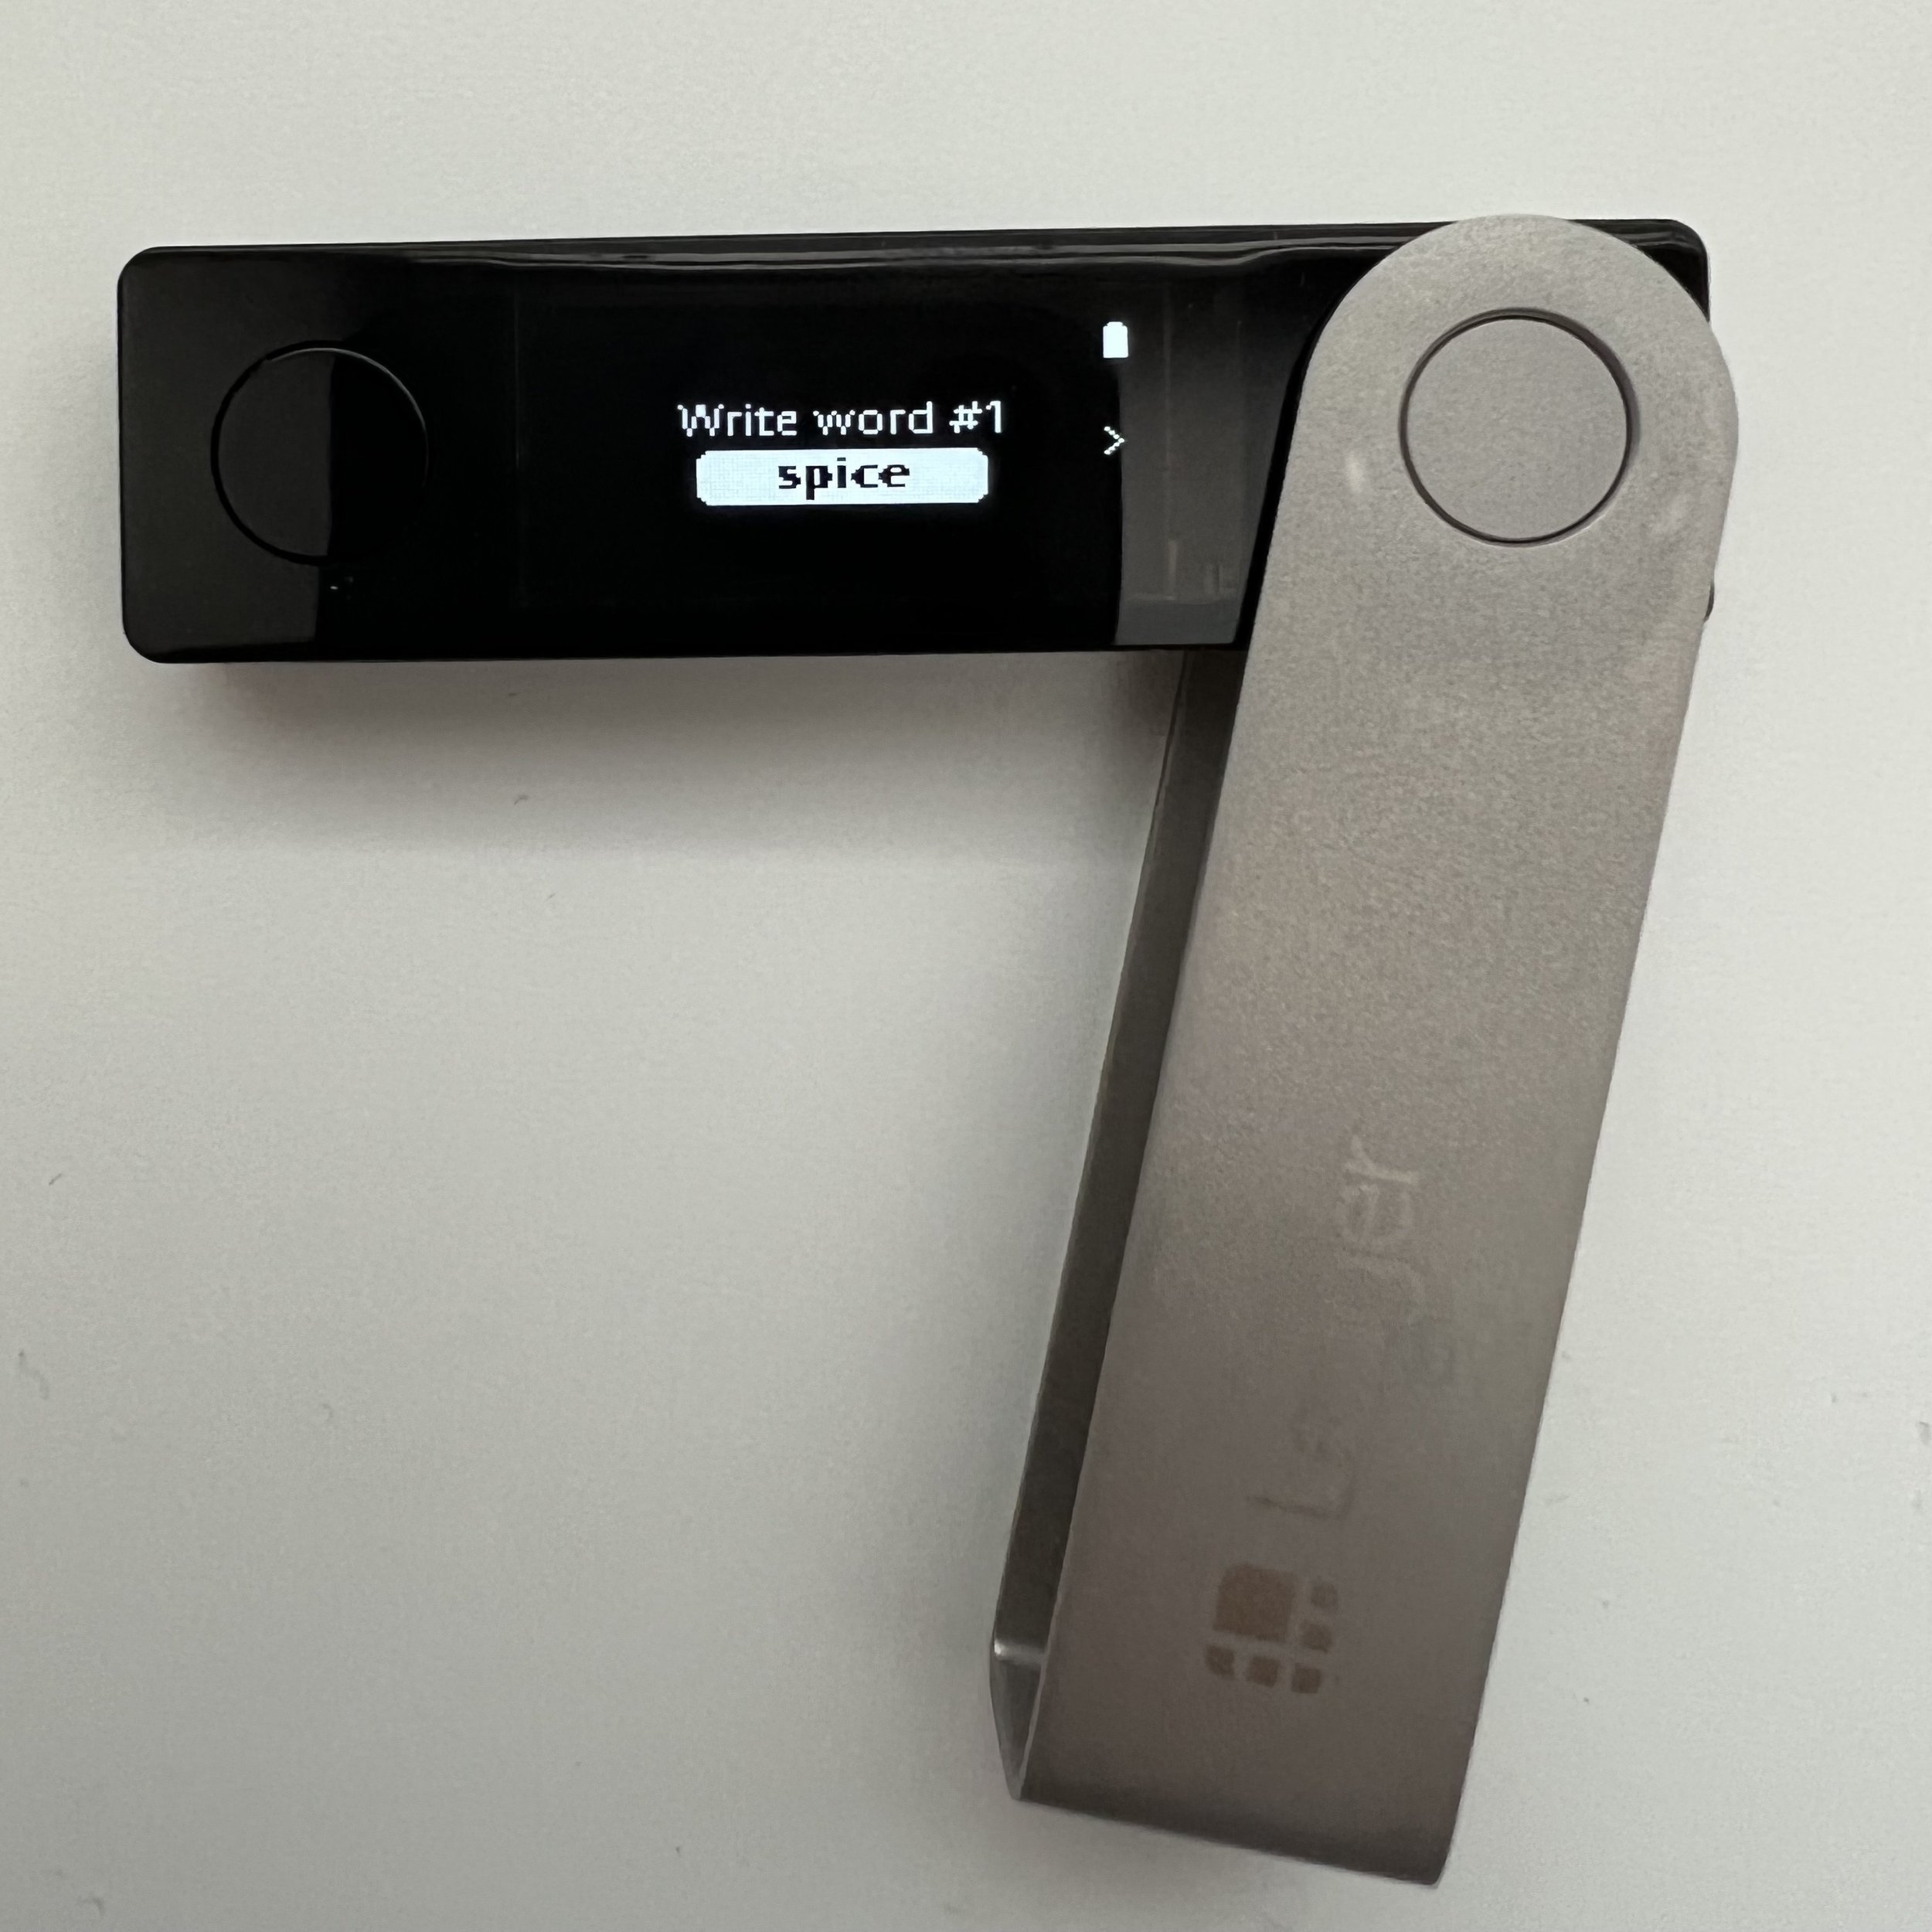
3. After setting a pin code, your device will generate a secret recovery phrase that consists of 24 words. Write down the words in the correct order. After viewing a word, press the button on the right to view the next word. After the 24th word, press both buttons to continue to the next step.

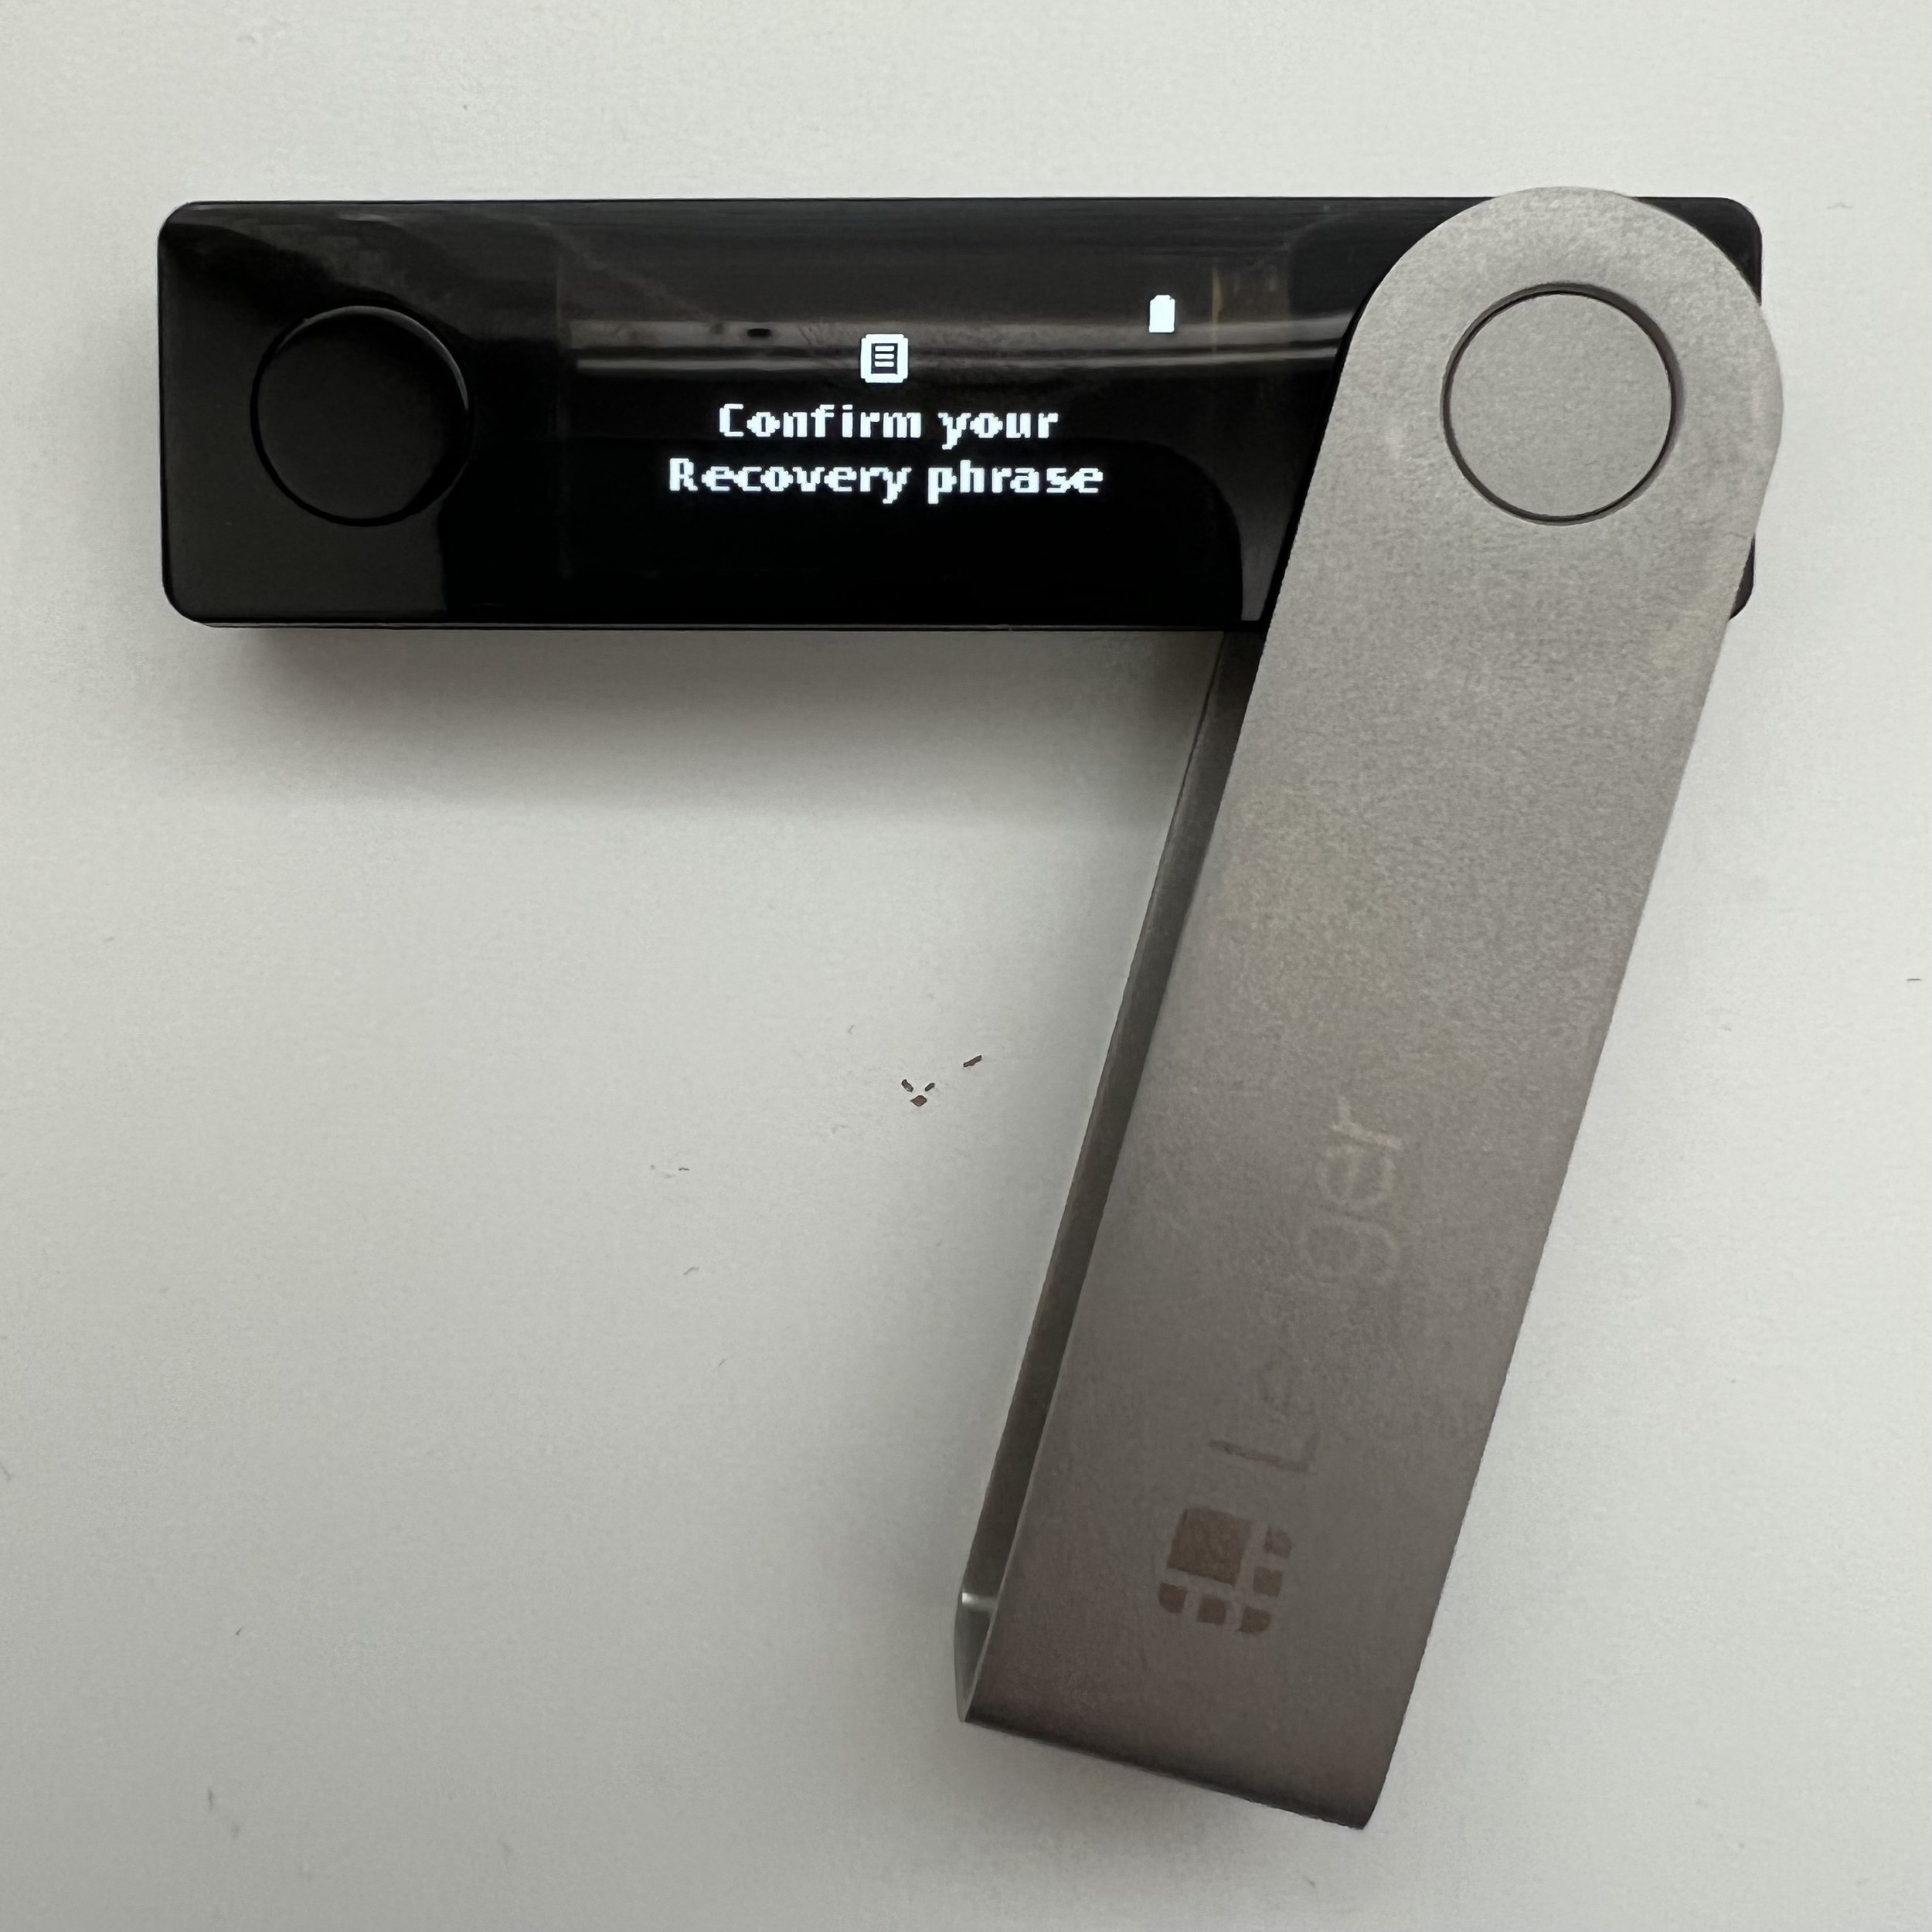
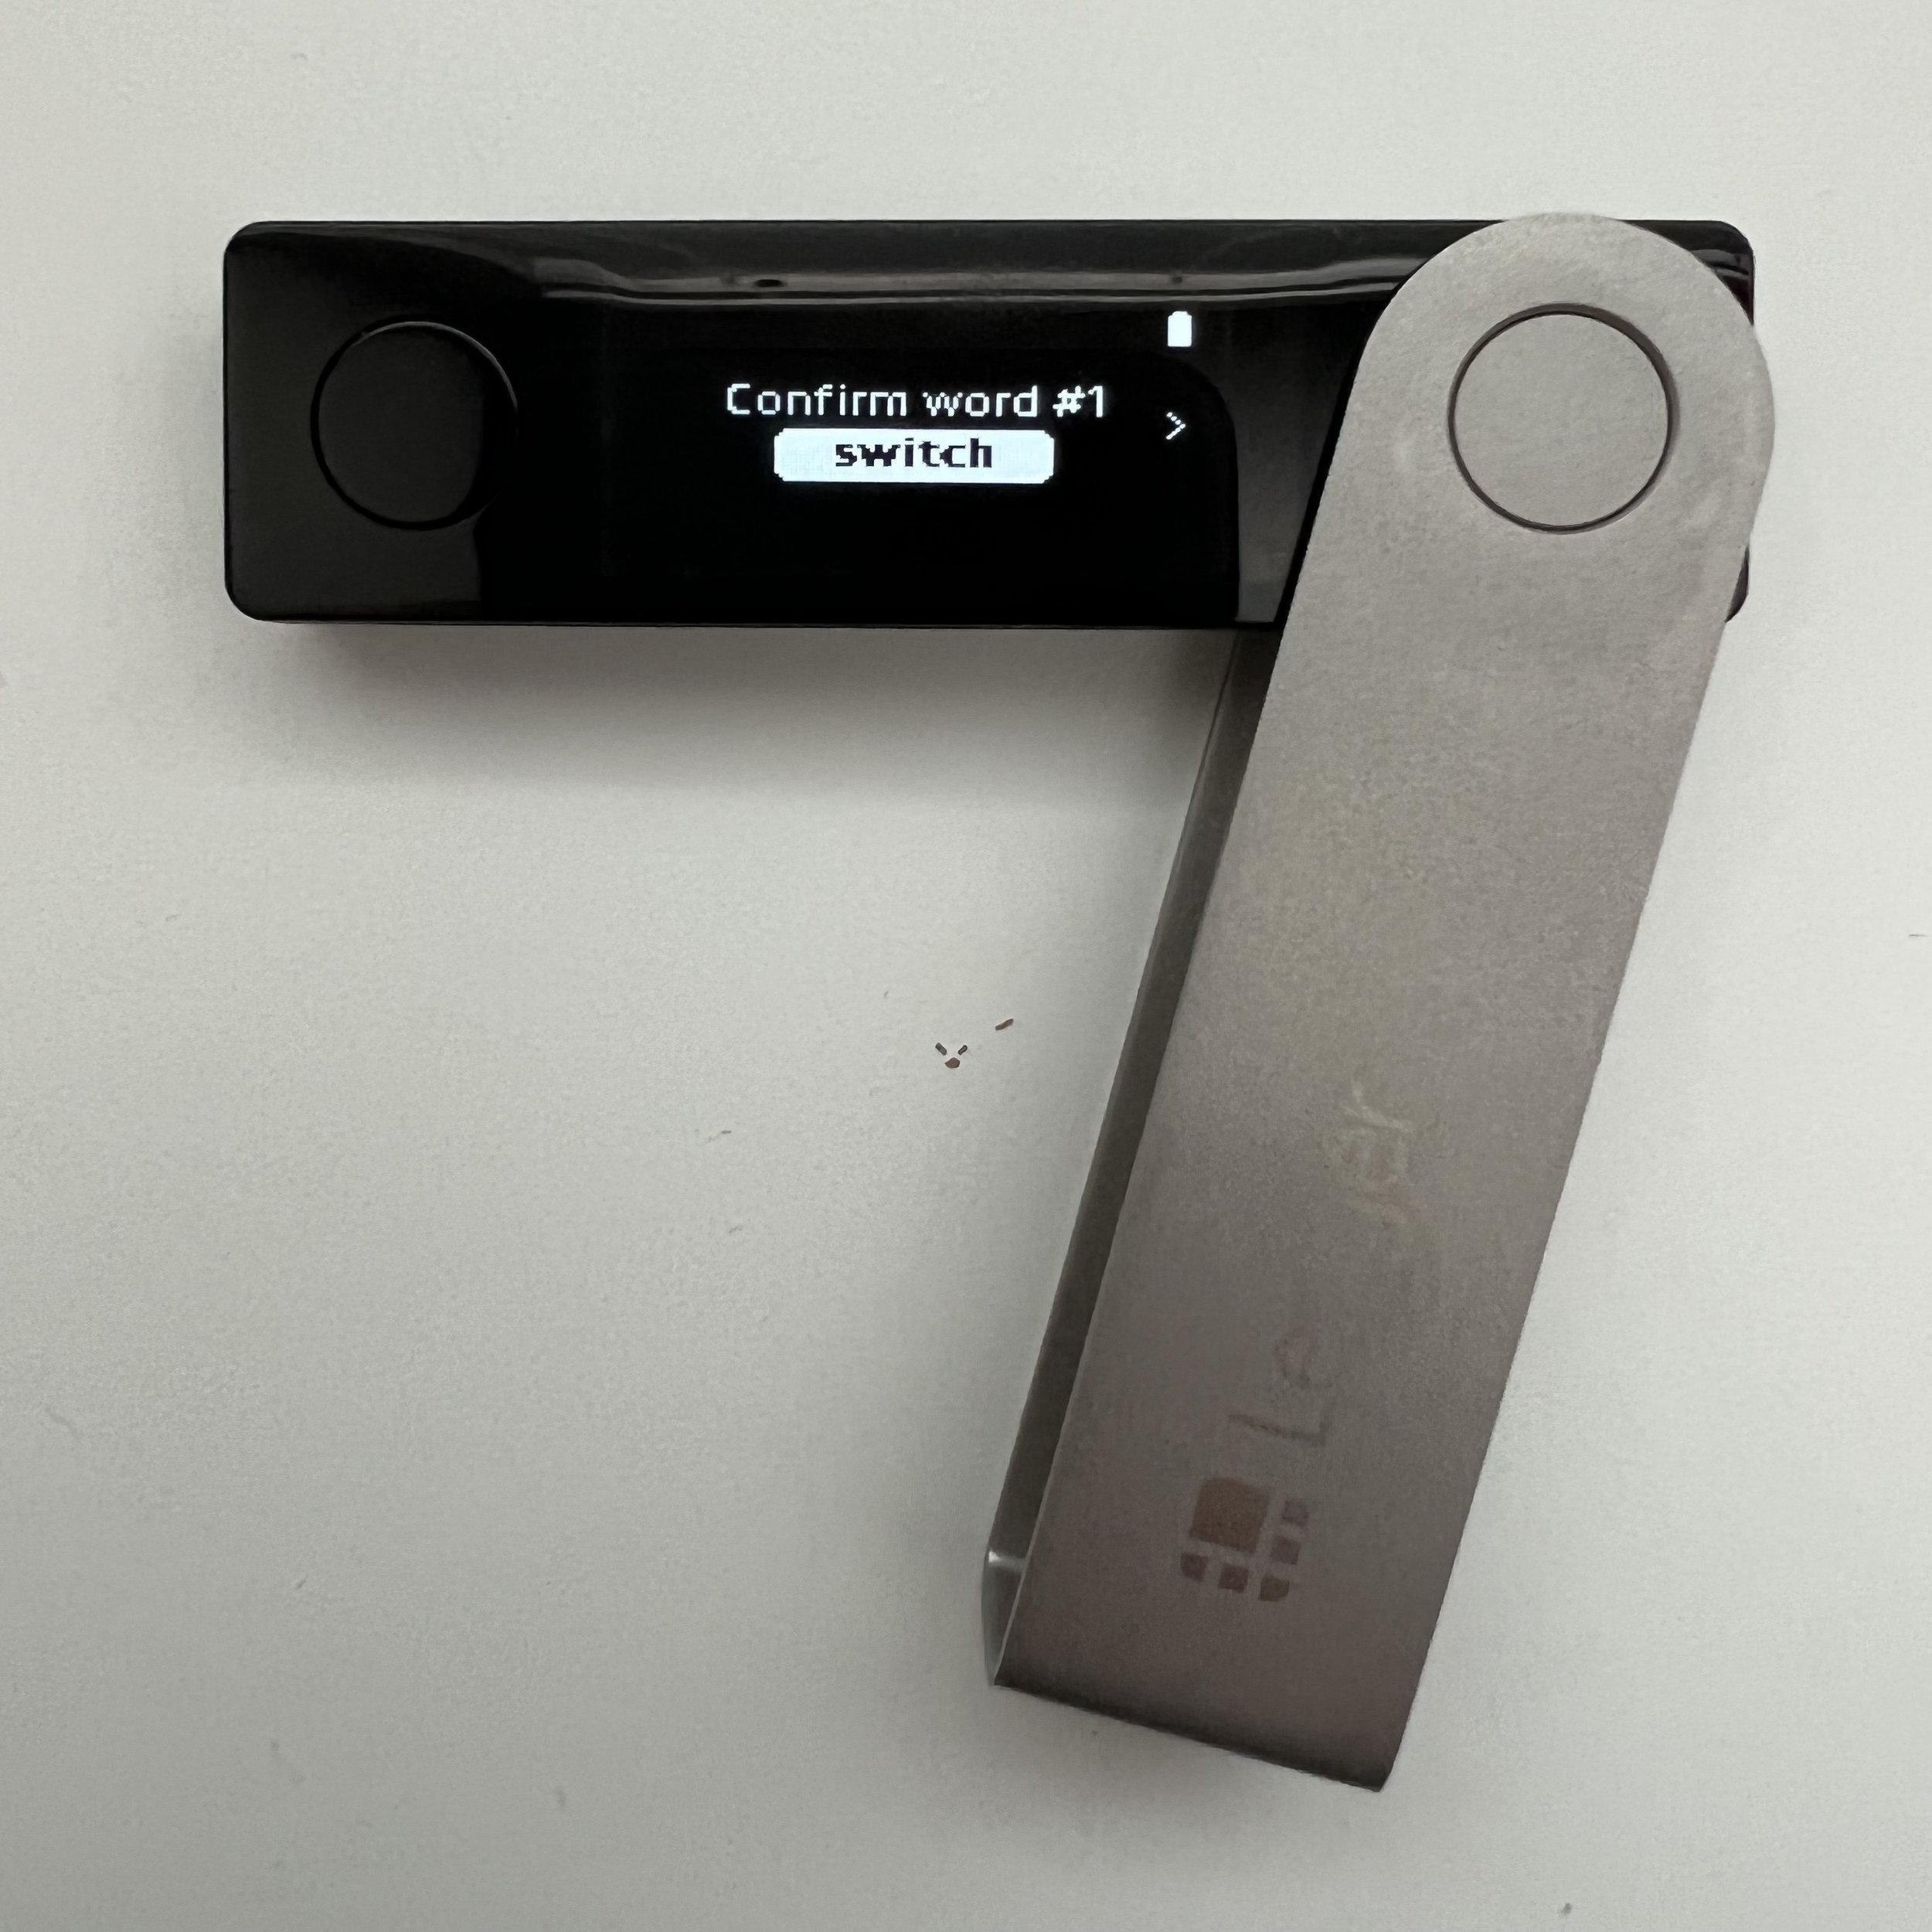
4. Verify your recovery phrase. You will be asked to confirm each word in the correct order. For example, you will be asked to confirm word #5, and you will have to pick the correct word out of four offered words. View the selection of words by pressing the button on the right, and when the correct word comes up, press the two buttons to move on and confirm the next word from your recovery phrase. This is the last time you’ll see your recovery phrase on this device.
5. You will need Ledger Live to finish setting up your device. Download Ledger Live on your computer or phone. Plug in your wallet to your computer and enter your pin code on your device to continue.
6. Enter the Ledger Live app and select your device to begin. Since your device already generated a seed phrase, select “Already have a seed phrase” and click “Connect Your Nano X”.
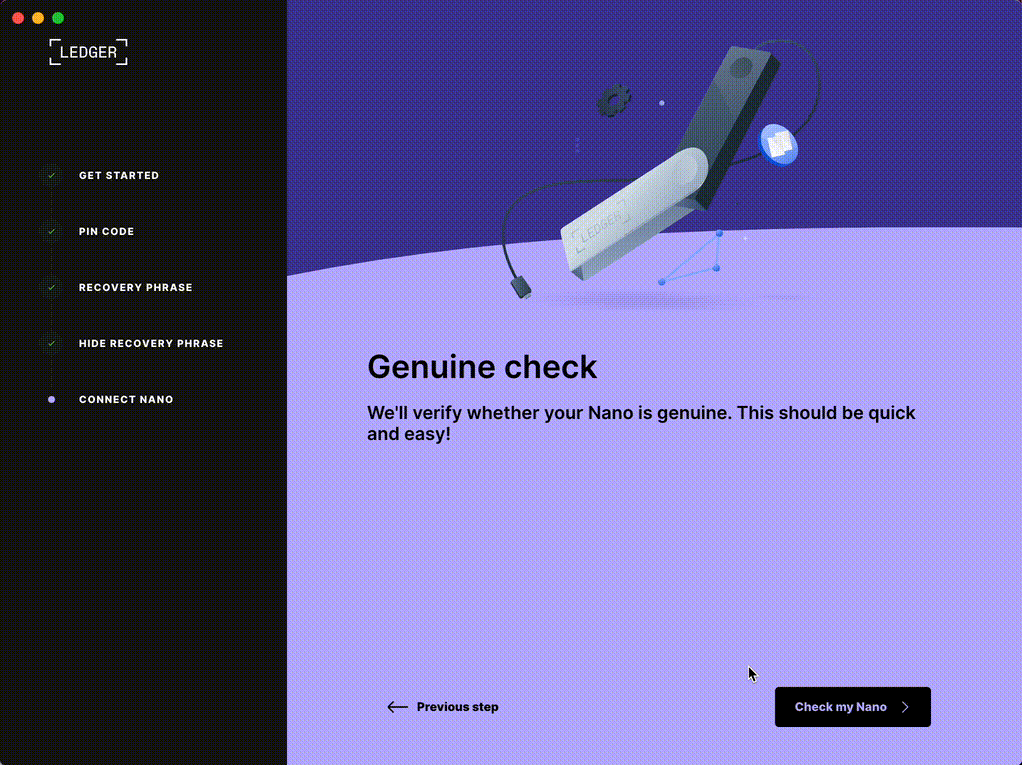
7. The Ledger Live app will verify whether your device is genuine. Allow Ledger Live to access your wallet by pressing the two buttons on your device.
8. You will need to set up your crypto accounts to have a wallet address and be able to send and receive crypto. To set up your crypto accounts, you will need to install apps through Ledger Live. Accounts on Ledger Live are used to manage different tokens. When downloading an app through Ledger Live, it will automatically install on your wallet as well.


9. Now that you have crypto addresses associated with your hardware wallet, you can move your crypto. Select your account and click “Receive” to view your wallet address. Check your hardware wallet and verify if the address on your wallet matches the one on your screen. Paste this address when sending from your exchange wallet or hot wallet.
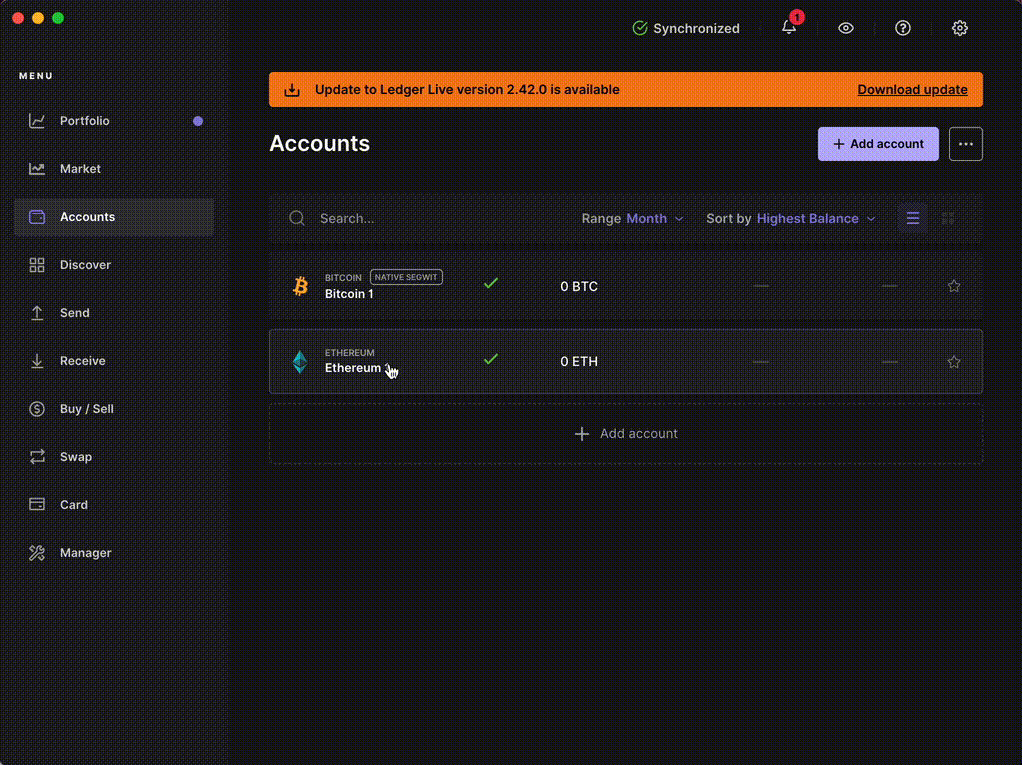
10. If you have other assets, add more accounts (Bitcoin, Ethereum, Tezos, etc.) and follow the same process above. That’s it - congratulations! You now have a secure hardware wallet.
Staying Safe
Although your private key is securely stored offline when you use a hardware wallet, you should still take steps to protect your assets.
Protecting the seed phrase
If you lose your hardware wallet, you still have access to your crypto as long as you have your seed phrase. Therefore, it’s incredibly important to secure your seed phrase. Keep your written seed phrase away from internet-connected devices and store the recovery sheets in a secure place. Do not digitize your seed phrase by taking photos or saving it in your notes app.
Be careful when granting approval to smart contracts
Another way to stay safe is by being cautious about blind-signing transactions. Every time you sign a transaction, it’s important to know what you are signing. Some smart contracts are designed to be malicious. By signing a transaction or giving approval to a contract that’s compromised, you might put your assets at risk.
To avoid signing malicious transactions, make sure that the transaction on your hardware wallet matches the one on your screen. Ledger also has a new feature, which displays information about the smart contract you are interacting with. You will be able to see how much crypto you are sending, how much you will be paying in gas fees, and what you will be receiving in return. This feature is available for most dApps integrated with Ledger.
NOTE: Ledger makes it possible to generate your private key and seed phrase offline. That means hackers can’t gain access to your private keys by exploiting your computer, cloud, or wallet. BUT, they can still get access to your private key or seed phrase if you give it to someone, take a photo of it, store it in an online location, or store it on your phone or computer files. DO NOT SHARE YOUR SEED PHRASE WITH ANYONE - Ledger doesn’t protect you if you do.
What’s Next?
Now that you have an extra layer of protection, you can be reasonably certain that your crypto assets are safer as you continue to navigate Web3. Still, it’s worth remembering that there are always some risks. The best way to protect your assets is to remain vigilant and double-check every link and transaction.
Want to learn how to manage your NFTs and use MetaMask with Ledger? Read more here and join us on Discord if you have any questions!